Air Plant Care Instructions: A Comprehensive Guide
Embark on a rewarding journey with these simple tips‚ ensuring your air plant thrives with balanced light‚ water‚ temperature‚ and fertilizer—download our free eBook!
Understanding Air Plants (Tillandsia)
Delving into the world of Tillandsia‚ commonly known as air plants‚ reveals fascinating botanical characteristics. These epiphytes‚ belonging to the bromeliad family—related to pineapples—don’t require soil for sustenance; instead‚ they absorb moisture and nutrients from the air. The term “air plant” is a common name‚ representing numerous species within the Tillandsia genus.
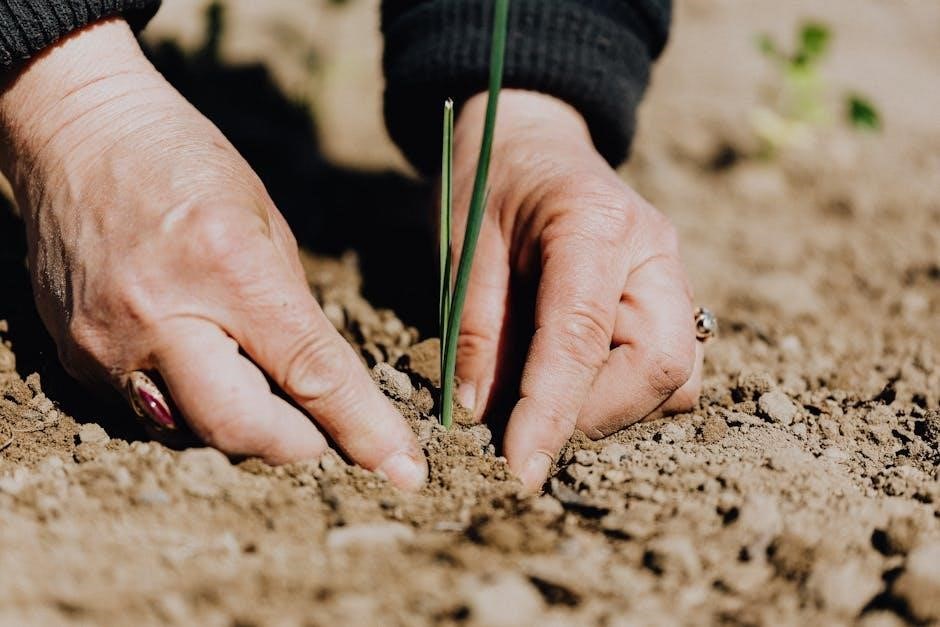
Understanding their natural habitat is crucial. Air plants originate from diverse environments across the Americas‚ from forests to deserts. They utilize specialized structures called trichomes—tiny scales on their leaves—to capture water and minerals. These plants anchor themselves using their roots‚ but don’t derive nourishment from them.
Successfully cultivating these unique plants necessitates recognizing they aren’t intuitively easy to care for‚ requiring dedicated research and observation. A growing guide or care sheet can be incredibly helpful for new owners.
What are Air Plants?
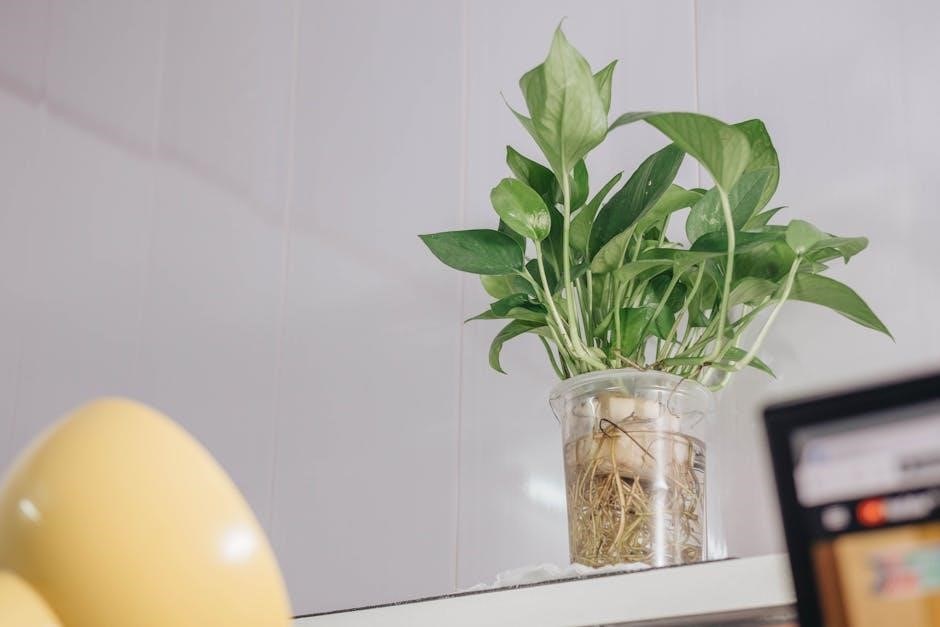
Air plants (Tillandsia) are unique epiphytes‚ meaning they grow on other surfaces—like trees or rocks—without parasitizing them. Unlike traditional potted plants‚ they don’t need soil to thrive‚ obtaining essential nutrients and moisture from the air around them. This remarkable adaptation allows them to flourish in diverse environments‚ from humid forests to arid landscapes throughout the Americas.
Their roots primarily serve as anchors‚ not as nutrient absorbers. Specialized structures called trichomes cover their leaves‚ enabling them to efficiently absorb water and atmospheric nutrients. These tiny scales give many air plants a silvery-grey appearance.
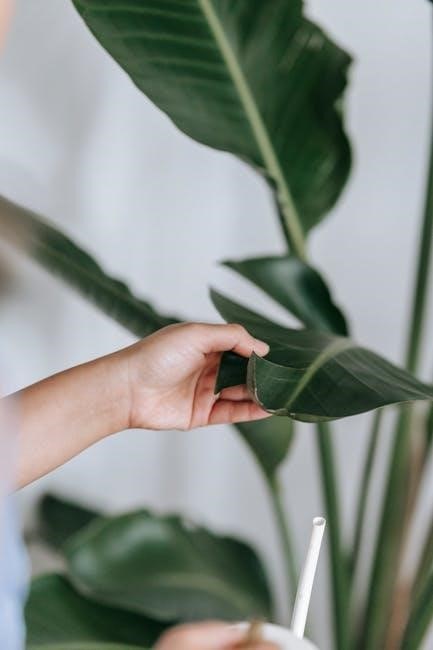
Owning an air plant can feel similar to caring for a pet‚ demanding attention to light‚ water‚ temperature‚ and occasional fertilization. They are fun to grow‚ but require specific care to remain healthy and vibrant.
The Tillandsia Genus Explained
The Tillandsia genus is a vast and diverse group within the bromeliad family‚ encompassing over 500 species commonly known as air plants. These plants exhibit a wide range of shapes‚ sizes‚ and colors‚ offering collectors a fascinating array of options; The term “air plant” serves as the common name‚ but scientifically‚ they fall under this specific genus classification.
It’s important to understand that ‘epiphyte’ describes a growth habit‚ not a taxonomic classification. While both air plants and orchids are epiphytes‚ they belong to different families. Tillandsia species are categorized further based on characteristics like leaf shape‚ bloom type‚ and growth patterns.
A growing guide for Tillandsia highlights their origins within the pineapple family‚ utilizing wire-like roots for anchoring rather than nutrient uptake. Understanding this genus is key to providing appropriate care.
Air Plant Origins and Natural Habitat
Air plants‚ belonging to the Tillandsia genus‚ originate from the Americas‚ ranging from the southern United States through Mexico and Central America‚ extending all the way down to Argentina. They thrive in diverse environments‚ including rainforests‚ deserts‚ and mountainous regions‚ showcasing remarkable adaptability.
Naturally‚ these plants are epiphytes‚ meaning they grow on other plants – trees‚ shrubs‚ even rocks – for support‚ but do not derive nutrients from their host. They obtain moisture and nutrients from the air‚ rain‚ and debris accumulating around them. Their natural habitats often experience high humidity and bright‚ indirect light.
Understanding their origins informs proper care; replicating aspects of their native environment‚ like sufficient air circulation‚ is crucial for healthy growth. These plants are accustomed to fluctuating temperatures and rainfall patterns.
Watering Your Air Plants
Regular hydration is key! Submerge your air plants in lukewarm water for 20-45 minutes weekly‚ preventing dehydration and ensuring they receive essential moisture.
Soaking vs; Misting: Which is Best?
Determining the optimal hydration method for your air plants – soaking versus misting – is crucial for their well-being. While misting provides surface-level moisture‚ it’s generally not sufficient as a primary watering technique. Air plants absorb water through their leaves‚ and misting often doesn’t deliver enough hydration for complete absorption.
Soaking‚ however‚ allows the plant to fully hydrate. Submerging your Tillandsia in lukewarm water for 20 to 45 minutes ensures every part of the plant receives the moisture it needs. This method is particularly important for plants showing signs of dehydration‚ like curling or wrinkling leaves.
Misting can be used as a supplementary practice between soakings‚ especially in drier environments‚ to maintain some humidity. However‚ always prioritize thorough soakings for optimal health. Remember to gently shake off excess water after soaking and allow the plant to dry completely to prevent rot!

Frequency of Watering
Establishing a consistent watering schedule is vital‚ but the ideal frequency depends on your environment and the plant’s specific needs. Generally‚ a weekly soaking is a good starting point‚ but observe your air plant closely for signs indicating adjustments are needed.
Factors influencing watering frequency include humidity‚ temperature‚ and air circulation. In drier climates‚ or during warmer months‚ more frequent watering – perhaps twice a week – may be necessary. Conversely‚ in humid environments‚ you might extend the interval to ten days or two weeks.
Look for visual cues: plump‚ vibrant leaves indicate adequate hydration‚ while curling or wrinkling suggests the plant is thirsty. Avoid overwatering‚ as this can lead to rot. After soaking‚ ensure complete drying before returning the plant to its display location. Consistent observation is key!
Water Quality: Avoiding Tap Water
The quality of water used significantly impacts air plant health; therefore‚ avoid using standard tap water; Municipal tap water often contains chlorine‚ fluoride‚ and other dissolved solids harmful to these sensitive plants‚ potentially causing leaf tip burn and hindering nutrient absorption.
Ideal water sources include rainwater‚ distilled water‚ or filtered water. If using filtered water‚ ensure the filter removes chlorine and other potentially damaging chemicals. Letting tap water sit for 24 hours can allow some chlorine to evaporate‚ but this isn’t a foolproof solution.
Prioritize pure water to ensure optimal health and vibrancy. Using the correct water type promotes healthy growth and prevents unsightly damage. Remember‚ air plants absorb water through their leaves‚ making them particularly susceptible to waterborne toxins.
The Drying Process: Preventing Rot
Proper drying is absolutely crucial after watering to prevent rot‚ a common killer of air plants. After soaking or misting‚ gently shake off any excess water‚ paying close attention to the base of the leaves where water tends to collect.
Place the air plant upside down or on its side on a clean towel or drying rack to allow for complete air circulation. This prevents water from pooling within the plant’s crevices‚ which fosters fungal growth and rot.
Ensure the plant is completely dry – typically within 4-6 hours – before returning it to its display. Insufficient drying creates a moist environment‚ inviting rot. A small fan can expedite the drying process. Remember‚ a thoroughly dried plant is a healthy plant!
Light Requirements for Healthy Growth
Air plants flourish with bright‚ indirect sunlight‚ mimicking their natural habitat; avoid direct rays that can scorch leaves‚ and ensure adequate illumination for vitality.
Ideal Light Conditions (Bright‚ Indirect Light)
Providing the right light is crucial for air plant health‚ and bright‚ indirect light closely replicates their natural epiphytic environment. Think of the light filtering through a forest canopy – that’s the sweet spot! East or west-facing windows generally offer excellent conditions‚ delivering several hours of bright light without the intensity of direct sun exposure.
South-facing windows can work‚ but require careful placement further back from the glass or utilizing sheer curtains to diffuse the light. North-facing windows may not provide enough light‚ potentially leading to stunted growth and a loss of vibrant color. Observe your plant; healthy air plants exhibit a vibrant green or reddish hue‚ while those lacking sufficient light may appear pale or washed out;
Artificial light‚ such as fluorescent or LED grow lights‚ can supplement natural light‚ especially during darker months. Position the plant within 12-24 inches of the light source for optimal results. Remember‚ consistent‚ bright‚ indirect light is the key to a thriving air plant!
Avoiding Direct Sunlight
While air plants crave brightness‚ direct sunlight is their nemesis! Intense‚ unfiltered rays can quickly cause sunburn‚ manifesting as brown‚ dry patches on the leaves. This damage is often irreversible‚ leaving unsightly scars and hindering the plant’s ability to absorb moisture and nutrients. Think of it like a human sunburn – prevention is far better than attempting to treat the damage afterward.
The severity of the burn depends on the duration of exposure and the intensity of the sun. Even a few hours of midday sun can be detrimental‚ particularly during the hottest months. If you’re placing your air plant near a window‚ carefully monitor the light levels throughout the day.

Signs of sunburn include a bleached or yellowish appearance‚ followed by browning and crisping of the leaf tips and edges. If you suspect your plant has been sunburnt‚ immediately move it to a shadier location and assess the damage. Protecting your air plant from direct sunlight is a simple step towards ensuring its long-term health and vitality.
Signs of Insufficient Light
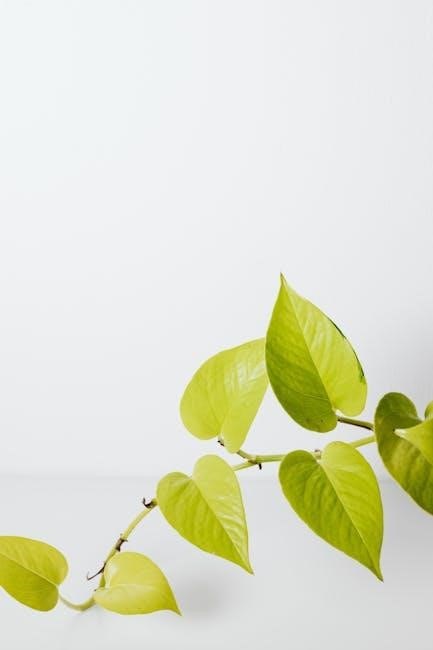
Recognizing the subtle cues of inadequate light is crucial for your air plant’s wellbeing. When deprived of sufficient brightness‚ these plants exhibit telltale signs indicating stress and hindering their growth. A common symptom is a loss of vibrant color; the plant may appear dull or faded‚ lacking its usual lively hue.
Furthermore‚ insufficient light can lead to elongated‚ stretched growth as the plant desperately reaches for a light source. Leaves may become thin and weak‚ losing their firm texture. Reduced plumpness is another indicator – healthy air plants are typically firm to the touch‚ while those lacking light feel softer and less resilient.
Growth may also slow significantly or even halt altogether. Observing these changes allows for prompt adjustments to the plant’s environment‚ ensuring it receives the necessary light to flourish. Remember‚ bright‚ indirect light is key!
Air Plant Fertilization
Boost your air plant’s vitality with the right fertilizer‚ applied sparingly and strategically‚ to supplement its airborne nutrient intake for optimal growth and health.
Choosing the Right Fertilizer
Selecting the appropriate fertilizer is crucial for air plant health‚ as standard houseplant fertilizers can be too strong and cause damage. Air plants absorb nutrients through their leaves‚ necessitating a specialized‚ balanced liquid fertilizer formulated specifically for Tillandsia. Look for a fertilizer with a low urea content‚ ideally one designed for bromeliads‚ as high urea levels can be toxic.
A good ratio to seek is 1:1:1 or something similar‚ indicating balanced nitrogen‚ phosphorus‚ and potassium levels. Dilution is key; use only a quarter to half the recommended strength on the fertilizer label. Avoid fertilizers containing copper‚ as air plants are sensitive to it. Consider using a fertilizer specifically labeled for air plants‚ readily available online or at specialty plant stores. These are pre-diluted and formulated to meet their unique needs‚ simplifying the process and minimizing the risk of over-fertilization.
Fertilizer Application Methods
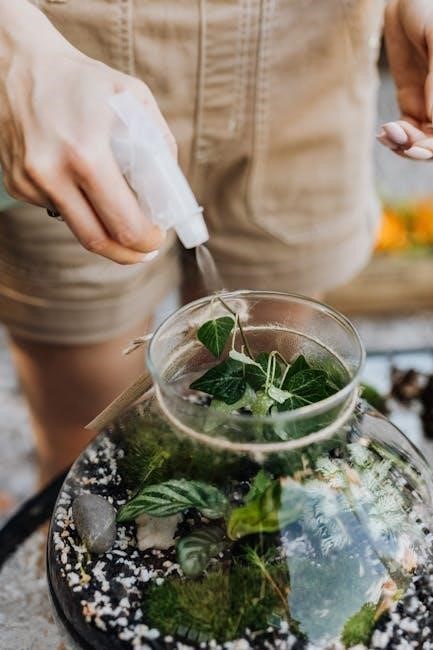
Applying fertilizer to air plants differs from traditional potted plants due to their unique absorption method. The most effective method is through foliar feeding – spraying a diluted fertilizer solution directly onto the leaves. After soaking your air plant‚ add the diluted fertilizer to the water during the soaking process; this allows for absorption through the trichomes.
Ensure complete coverage‚ but avoid pooling water at the base of the plant‚ which can lead to rot. Alternatively‚ you can gently mist the plant with the diluted fertilizer solution after it has dried from a regular soak. Frequency is vital; over-fertilizing can be detrimental. Always rinse the plant with plain water after fertilizing to remove any residue. A spray bottle provides excellent control for even distribution‚ ensuring each leaf receives nourishment.
Frequency of Fertilization
Determining the correct fertilization frequency is crucial for maintaining healthy air plants. Unlike many houseplants‚ air plants don’t require frequent feeding; over-fertilization poses a greater risk than under-fertilization. A general guideline is to fertilize every 2-4 weeks during the growing season – typically spring and summer – when the plants are actively growing.
Reduce or eliminate fertilization during the fall and winter months when growth naturally slows down. When using a diluted fertilizer solution during soaking‚ ensure it’s a balanced bromeliad fertilizer. Observe your plant for signs of nutrient deficiency‚ such as pale leaves or stunted growth‚ and adjust the frequency accordingly. Remember‚ less is often more when it comes to air plant fertilizer‚ promoting robust health without causing harm.
Air Plant Mounting and Display
Unleash your creativity with suitable mounting materials‚ inspiring display ideas‚ and ensuring vital air circulation for these captivating epiphytes—they don’t need soil!
Suitable Mounting Materials
Selecting the right materials is crucial for successfully displaying your air plants. Avoid using copper‚ as it can be toxic to them. Popular choices include driftwood‚ cork bark‚ sea shells‚ and even interesting pieces of wood found in nature – ensuring they are sustainably sourced‚ of course!
Many enthusiasts also utilize wire‚ twine‚ or fishing line to gently secure the plants‚ allowing for creative hanging arrangements. Remember that air plants don’t require soil‚ so the mounting material simply provides a place for them to anchor. Consider the plant’s size and shape when choosing a mount; a larger plant will need a more substantial base.
You can also find specifically designed air plant holders made from ceramic‚ glass‚ or metal. The key is to ensure adequate airflow around the plant‚ regardless of the material used. Avoid completely enclosing the plant‚ as this can lead to rot. Prioritize materials that allow for good ventilation and don’t retain excessive moisture.

Display Ideas and Inspiration
Unleash your creativity! Air plants offer incredible versatility in display options. Consider creating miniature landscapes within terrariums‚ incorporating them into hanging glass globes‚ or arranging them artfully on pieces of driftwood. They look stunning nestled within sea shells‚ adding a coastal vibe to your décor.
For a more modern aesthetic‚ mount them on geometric metal frames or display them in sleek ceramic holders. Grouping multiple air plants together can create a striking visual impact. Don’t be afraid to experiment with different heights and textures.
Think beyond traditional plant displays – air plants can be incorporated into wall art‚ used as unique table centerpieces‚ or even added to jewelry! Remember to prioritize airflow when choosing a display method‚ ensuring the plants aren’t overcrowded or enclosed. Let your imagination guide you and enjoy the process of showcasing these fascinating plants.

Ensuring Air Circulation
Proper air circulation is paramount for air plant health‚ directly impacting their ability to dry effectively after watering and preventing potentially fatal rot. Avoid tightly enclosed spaces where air stagnates. Instead‚ opt for displays that allow air to flow freely around the plant’s leaves.
Position your air plants in areas with gentle breezes‚ or occasionally use a small fan on a low setting to promote airflow. This is especially crucial after soaking or misting. Overcrowding plants hinders circulation‚ so provide adequate spacing between each individual specimen.
Mounting plants on open structures like driftwood or shells naturally encourages airflow. Regularly check for any signs of trapped moisture‚ particularly at the base of the leaves‚ and adjust the display accordingly. Good air circulation is a simple yet vital component of successful air plant care.
Troubleshooting Common Air Plant Problems
Address issues promptly! Identifying and treating rot‚ brown leaf tips‚ or reviving dehydration are key to maintaining a thriving‚ healthy collection of these unique plants.
Identifying and Treating Rot
Rot is a serious threat to air plants‚ often stemming from waterlogged bases after soaking. Early detection is crucial; look for discoloration‚ typically starting as brown or black spots at the plant’s base‚ which can quickly spread. A soft‚ mushy texture indicates advanced rot.
Immediate action is vital. Gently remove any affected leaves with clean‚ sharp scissors‚ cutting back to healthy tissue. Thoroughly dry the plant‚ ensuring no moisture remains within the leaf crevices. Increase air circulation around the plant to accelerate drying.
Avoid further soaking until the plant has completely recovered‚ displaying firm‚ healthy growth. In severe cases‚ if the rot has extensively damaged the plant‚ propagation via pups (offsets) might be the only option. Prevention is key – always ensure complete drying after watering!
Addressing Brown Leaf Tips
Brown leaf tips on air plants are a common concern‚ often indicating environmental stress rather than a fatal condition. Typically‚ this signals low humidity or inconsistent watering practices. While aesthetically displeasing‚ minor browning is often harmless and doesn’t necessarily threaten the plant’s overall health.
To mitigate this issue‚ increase the frequency of misting‚ especially during drier months‚ or consider a more humid environment. Ensure consistent watering – regular soaking is preferable to infrequent‚ prolonged droughts. Avoid using tap water‚ as mineral buildup can contribute to browning.
Gently remove the affected tips with clean scissors‚ following the natural leaf shape. Monitor the plant closely for any further discoloration‚ adjusting your care routine accordingly. Remember‚ a little brown doesn’t always mean trouble‚ but vigilance is key!
Reviving a Dehydrated Air Plant
Recognizing dehydration in air plants is crucial for their survival. Signs include excessively curled‚ brittle leaves‚ and a generally pale or dull appearance. Don’t panic – often‚ a severely dehydrated plant can be brought back to life with proper attention!
The immediate course of action is a prolonged soak. Submerge the plant in lukewarm water for 30-60 minutes‚ allowing it to fully rehydrate. After soaking‚ gently shake off excess water and‚ critically‚ place the plant upside down on a towel to dry completely.
This prevents rot‚ a common issue with revived air plants. Increased humidity can also aid recovery; consider placing the plant in a humid environment for a few days post-soaking. Monitor closely for signs of improvement – leaves should regain some flexibility. Consistent care will prevent future dehydration!